On Thanksgiving morning we participated in the Tree's Greenville Turkey Day 8K for the second year. We both ran our fastest race and set a new PR! :-) Perhaps one of the reasons was because we woke up and it was only 25 degrees outside.. talk about motivation to finish!! So proud of everyone in Greenville who came out to support the race in the cold weather.
 |
| Trees Greenville Turkey Day 8K 2013 |
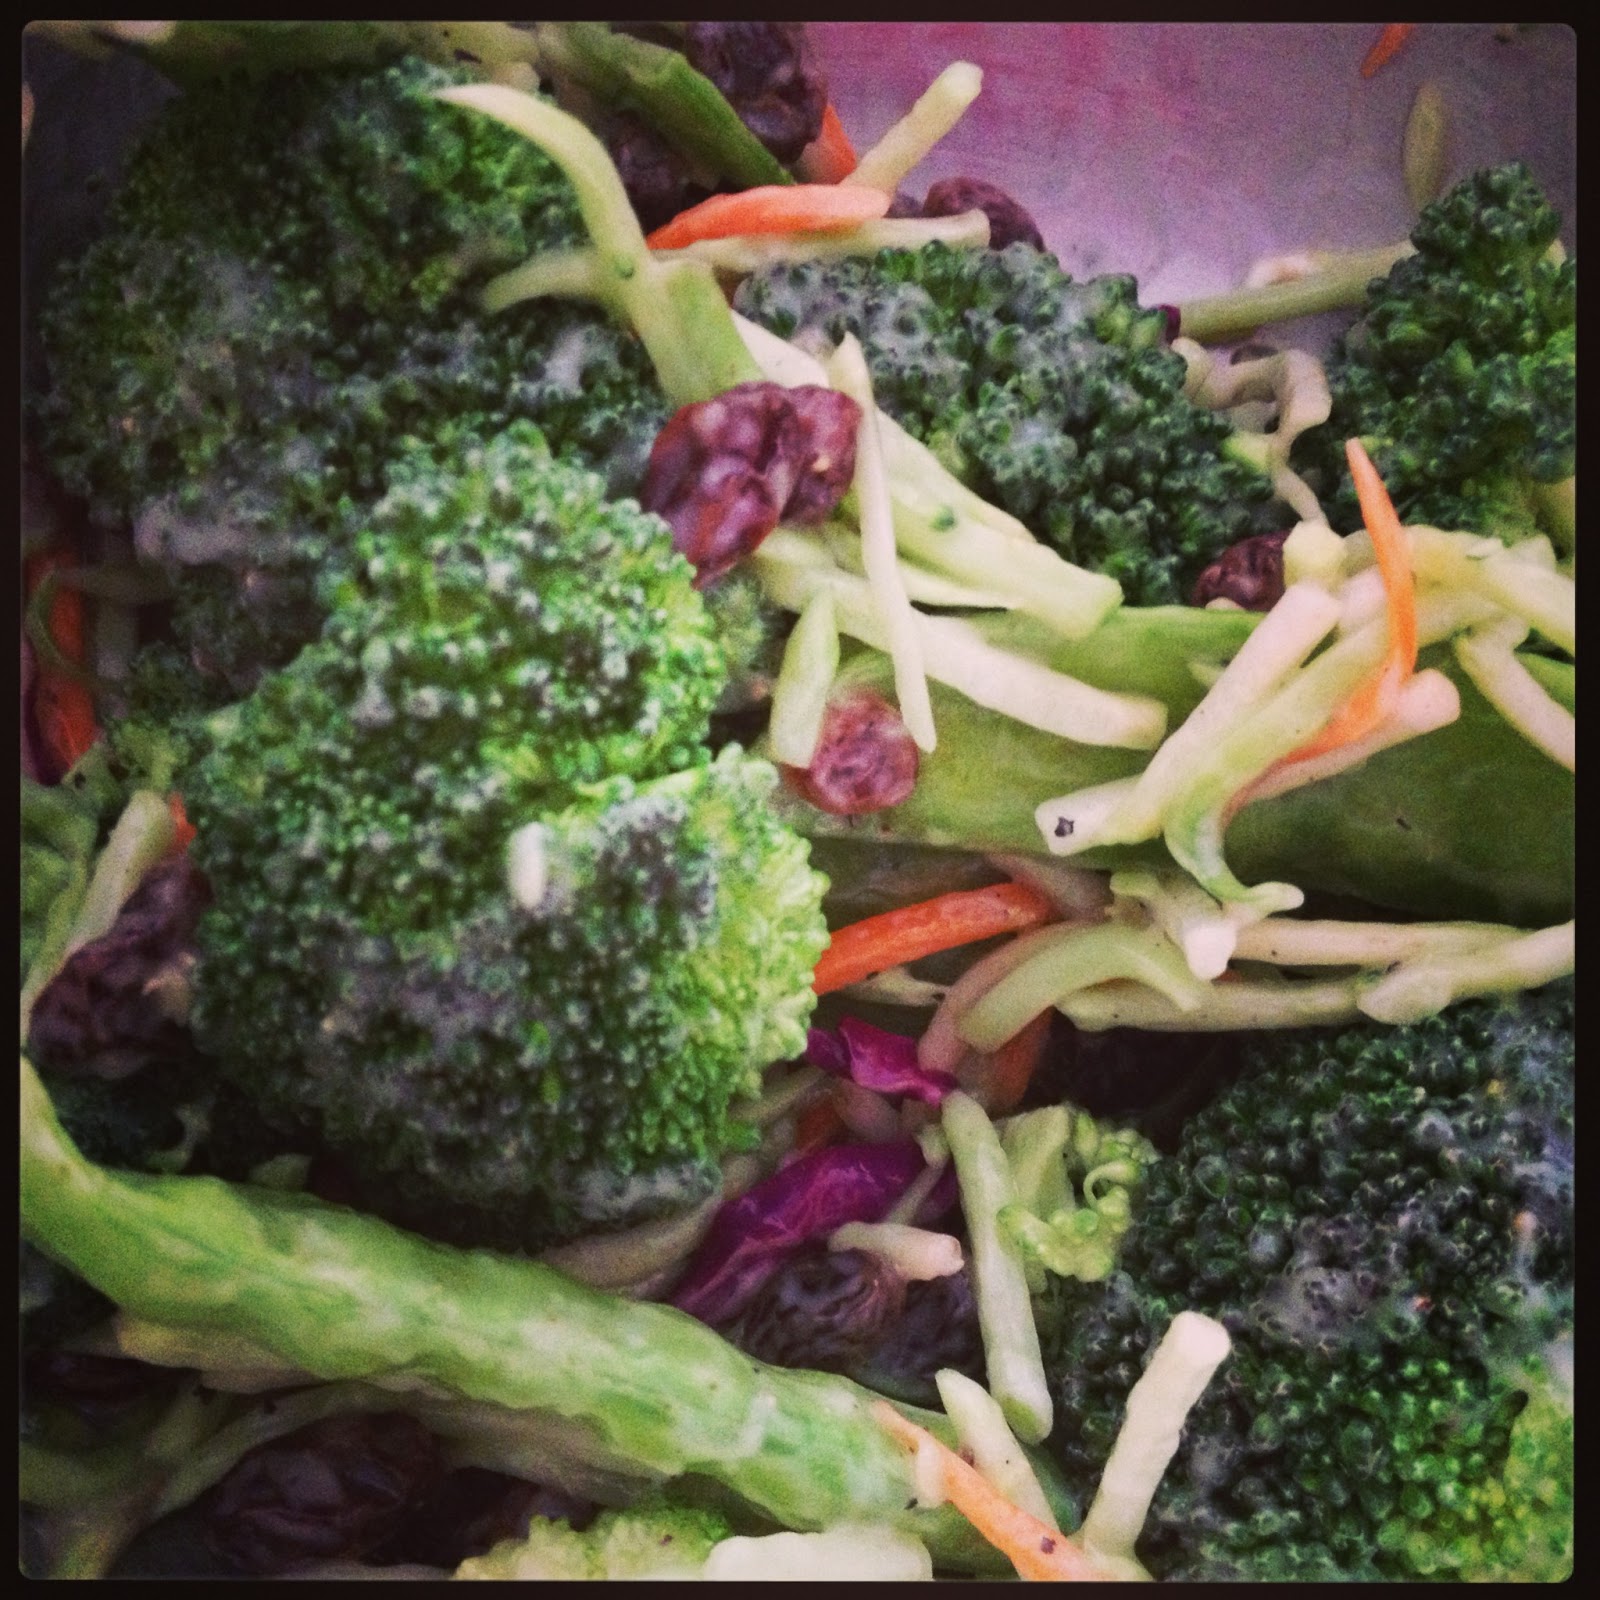
This Thanksgiving we were very thankful to spend the evening with friends who cook wonderful food! Our friends Adam and Amanda cooked up quite the spread with a bacon smoked turkey, mashed potatoes with poblano cheese, cabbage, green bean casserole, and Brussels sprouts. We were happy to bring a veggie side dish as well as a yummy apple crumble pie (check out the recipe for it here). For the side dish we figured we would try something different by bringing a Roasted Celery Root and Carrots dish from Food Network Magazine.
This was our first experience cooking with celery root, a decidedly misshapen root ball that looks nothing like its cousin you find in the stores, and were pleasantly surprised when the first cut yielded a strong but familiar celery scent. This non-starchy vegetable is a fun replacement for a typical dish with potatoes, but beware: we had a difficult time finding it at our traditional grocery store, so be sure to check a specialty store such as Whole Foods.
Check out the recipe below, it was very easy to make!
 |
| BLT Foodies: Roasted Celery Root and Carrots |
Yield: 8 servings
Adapted from: Food Network Magazine
Ingredients
3 pound celery root (celeriac), peeled and cut into 1 inch chunks
6 tablespoons extra-virgin olive oil
2 tablespoons fresh thyme
1 teaspoon smoked paprika
3 pounds carrots, peeled and cut into 1 inch chunks
2 tablespoons chopped fresh parsley
Salt (optional)
Directions
- Heat a rimmed baking sheet on the bottom oven rack and preheat the oven to 425 degrees.
- Toss the celery root with 4 tablespoons olive oil, 1 tablespoon thyme and 1/2 teaspoon smoked paprika (salt optional).
- Pile celery root onto heavy-duty foil and create a bag by bringing the ends together and crimp closed to seal.
- Place the foil bag on another baking sheet and roast in the middle of the oven for 25 minutes.
- Meanwhile, repeat step #2 with the carrots. Toss the carrots with 2 tablespoons of olive oil, 1 tablespoon thyme and 1/2 teaspoon paprika in a bowl (salt optional).
- Spread carrots on the preheated baking sheet and roast until tender for 35 minutes.
- After the celery root has roasted for 25 minutes, open the foil and spread on the baking sheet to roast another 15 minutes.
- When done roasting, toss the celery root with the carrots and parsley in a large bowl and serve!
The only down side to not preparing a large Thanksgiving meal is that you typically do not have a fridge full of delicious leftovers. We did, however, have the leftover apple crumble pie and vegetable dish. We decided to pair our leftover Roasted Celery Root and Carrots with some turkey bacon and fried eggs for a yummy Thanksgiving leftover veggie hash! This low carb hash has amazing flavor and you don't have to feel guilty about eating it! It was so good we had it two days in a row.
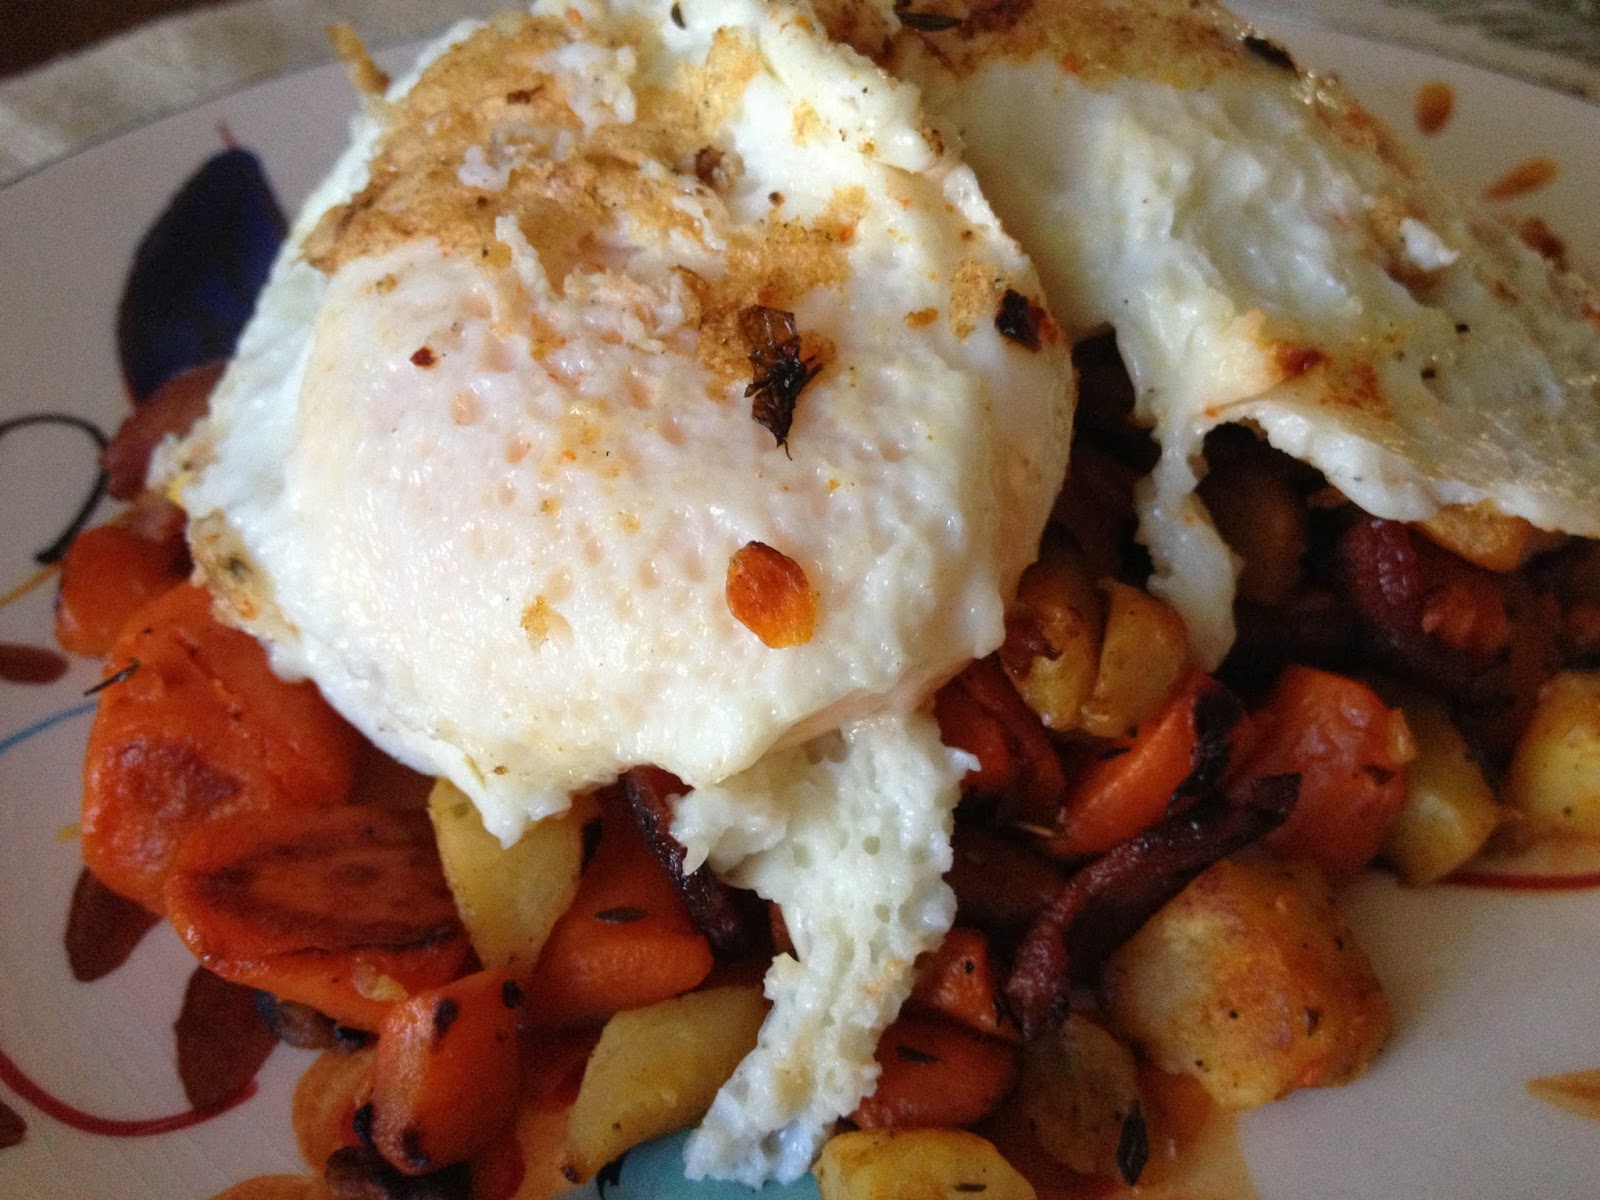 |
| BLT Foodies: Roasted Celery Root, Carrot and Turkey Bacon Hash |
Roasted Celery Root, Carrot and Turkey Bacon Hash
Servings: 2
Ingredients
2 cups Roasted Celery Root and Carrots (see recipe above)
2 slices Trader Joe's Turkey Bacon
4 eggs
2 tablespoons Olive Oil
Smoked paprika (to taste)
Pepper (to taste)
Directions
- Heat the olive oil in a cast iron skillet over medium heat.
- Tear the turkey bacon into small pieces and add it to the skillet, brown lightly for about 2-4 minutes.
- Add the roasted celery root and carrots to the skillet and brown for about 7-10 minutes until bacon is fully cooked and vegetables are crisp.
- Push the vegetables and bacon to one side of the skillet.
- Fry 4 eggs over easy in the skillet, and top with smoked paprika and pepper to taste.
- Serve one cup vegetable mixture with 2 fried eggs on top.
- Enjoy!!
 |
| BLT Foodies: Roasted Celery Root, Carrot and Turkey Bacon Hash |
Oh, and Lilly also <3's Carrots...
 |
| BLT Foodies: Lilly and her short-lived chew toy |
Have a happy and healthy holiday season y'all!


.JPG)


